
|
| I'm thinking better looking bags might be in order. But, this tote is one of the many ways to use fused, plastic bags. |
"Do you have one zillion plastic drugstore and grocery bags under your sink, or perhaps smushed into a drawer? Ever wanted a cheap and easy use for them? One that leaves you with an intriguing and useful homemade craft supply? Do you have an iron? Why don't you fuse them together?
What you'll need:
- Plastic bags (thin, flimsy ones work best)
- Parchment paper, freezer paper or plain old copier paper
- Iron (and your favorite ironing surface)
- Scissors
Making it:
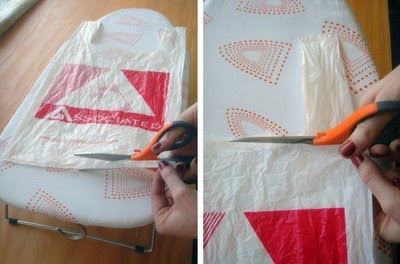
Please do this in a well-ventilated area.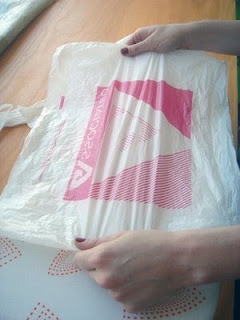 Flatten out the bag and trim the bottom seam and handles off. This allows the bag to be opened up into a larger rectangle of plastic.
Turn the bag inside-out if it has printing on it. Once the ink heats up, it comes off the bag and makes a huge mess. If the bag has an interesting design that you'd like to preserve, try using a clear plastic bag layered on top of the printed one.
We find that between 6-8 layers of plastic gives the best results. So, you can either fold your bag twice until it is 8 ply thick, or use three or more bags layered on top of one another. Trying to fuse less than 6 layers often results in little holes forming in the finished piece and a generally weaker material.
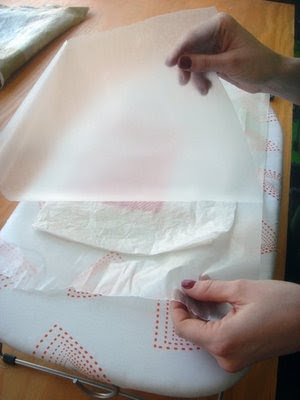
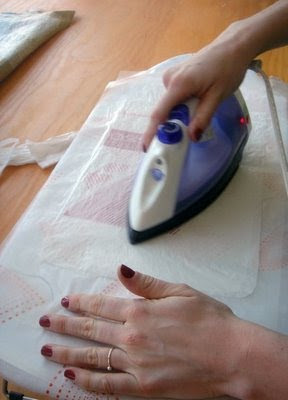
Sandwich your plastic bags between the parchment paper. Next, run a hot iron (we set ours to "rayon," but you will need to experiment a little to see what works for you) and keep the iron moving constantly. Make sure to get the edges, and after about 15 seconds, flip it over and iron the opposite side for a few seconds.
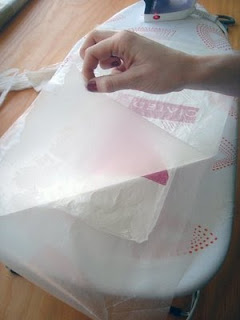
Peel the parchment paper away from the finished plastic sheet. Voila!
Now, you can use this stuff to make a million things. We've made re-usable grocery totes, wallets, and floor cushions; I think its an inexpensive way to make waterproof linings for beach bags and make-up clutches."
There are so many ways to use the fused plastic material. For a look at more creative ideas, click here to view photos on Etsy.
|
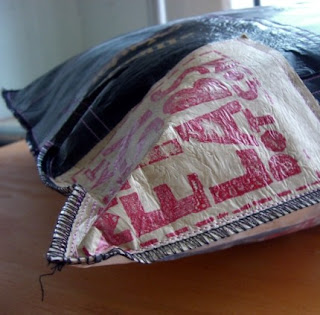
| Photo of fused plastic pillow via Etsy. |
I can stuff the waterproof, fused plastic pillow covers with filler of my choice, sew and cover with great outdoor fabric - a great winter project that will be ready for spring.
You've gotta love The Storque on Etsy's Handmade Blog, With its great 'How To' section and video tutorials, even the most challenged among us can channel our inner artiste!
1 comments:
great idea...I also know a woman who cut them into strips and then crocheted a super strong shopping/tote bag
Post a Comment