Friday, February 4, 2011

Velvet burnout ...

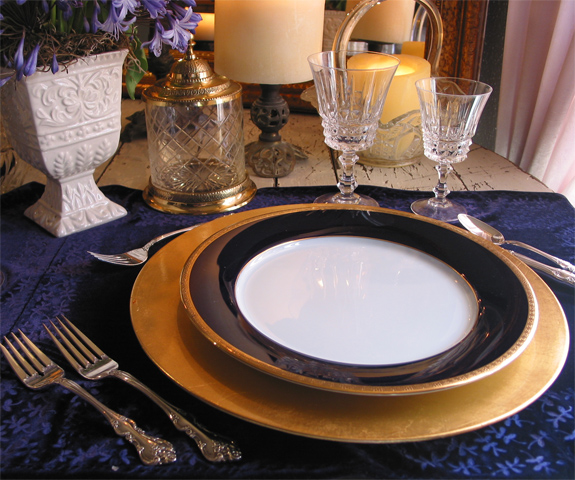
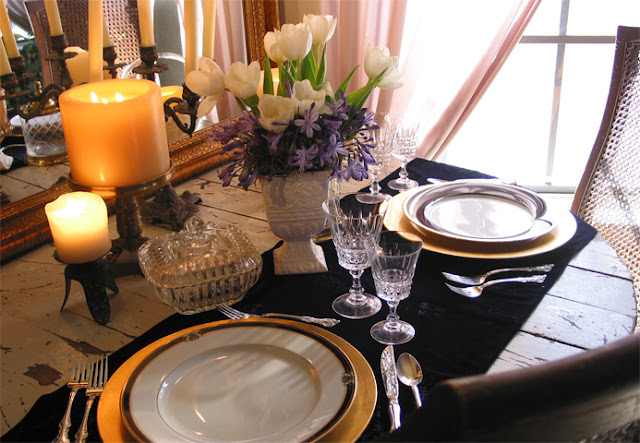
Creating velvet burnout on fabric is an easy project when you want to bring in a bit of glam. Embossing the rich, textured fabric is a snap using rubber stamps. I created the sweet tablerunner below and thought you might like to make something, too.


Here's what you'll need for the project:

Acetate-rayon velvet
Iron
Spray bottle of water
Rubber stamp (large, simple-design, heat-resistant)
Straight pins

You can use purchased strips of acetate-rayon velvet ribbon, or do what I did, and recycle an old velvet blouse that's been hanging in the closet forever. (Hey, I was never going to wear that blouse anyway, so why not make it useful!)

 
Just cut the velvet to the desired width and length, accounting for edge seams. Sew those seams by machine or hand before taking the next step.

 
Hint: Experiment first on an extra piece of velvet before moving to the real deal.

 
  1. Heat the iron on the wool or cotton setting. (Do not use steam, however.)
  2. Place the stamp, rubber side up, on the ironing board.
  3. Mist the wrong side of the velvet lightly with water.
  4. Lay the fabric right side down against the rubber stamp, so the wrong side (that you just misted) is facing up.
  5. With your fingers feel where the stamp pattern begins and ends, and mark those spots with a straight pin.
  6. Press the iron on the fabric, and do not move it for 30 seconds, then lift the iron off. (Try to use the part of the iron without steam holes.)

 
Hint: Sometimes the rubber stamp will become extremely hot. Stop for a few minutes and let it cool off before moving to the next section.

 
Now, move the rubber stamp to the next section of velvet, this time starting the rubber stamp where it ended last time (using the spots marked with pins) and repeat the stamping and pinning process until your design is complete.


My stamp-embossed runner project was completed in just a couple of hours, but the ideas are endless when you think of how to accent your home with velvet touches. I made this one for my hubby's birthday celebration (this is a round, antique table for two that we have in our bedroom for special evenings. I can say no more!).

I've used this same process when trimming the edge of draperies for a friend.
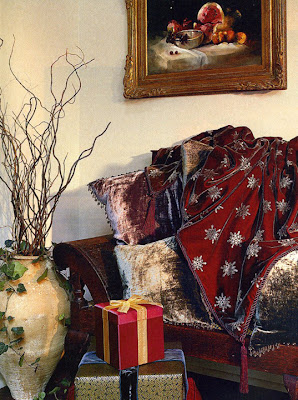
 

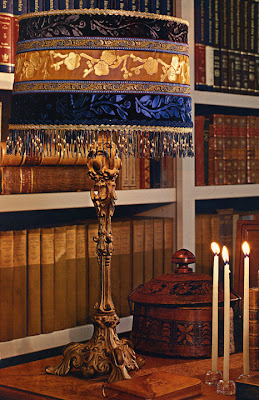
Above, Laurey Glenn has photographed other sources using the same technique on lamps and throws.

0 comments: